

Vídeo 1 de 6
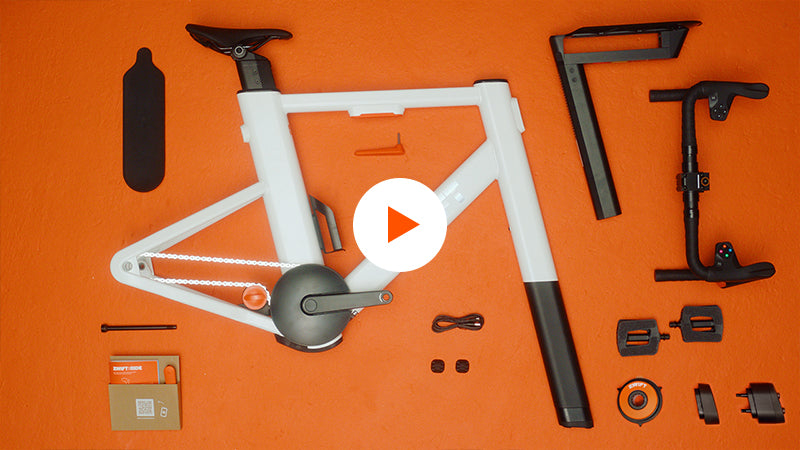
INSTALACIÓN DEL ZWIFT COG (MULTIRODILLO)
Aprende a instalar el Zwift Cog con núcleo en un rodillo Zwift Ready.

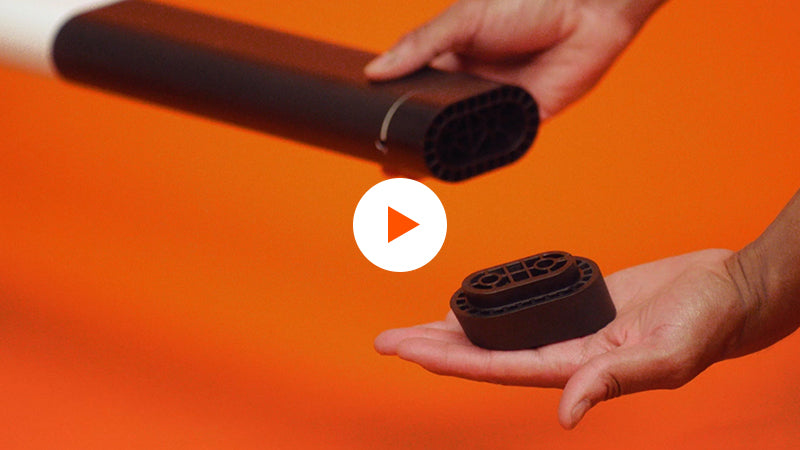
Vídeo 2 de 6
MONTAJE DEL CUADRO INTELIGENTE DE ZWIFT RIDE (COG V2)
Tras instalar el rodillo inteligente Zwift Ready, toca montar el cuadro inteligente de Zwift Ride.

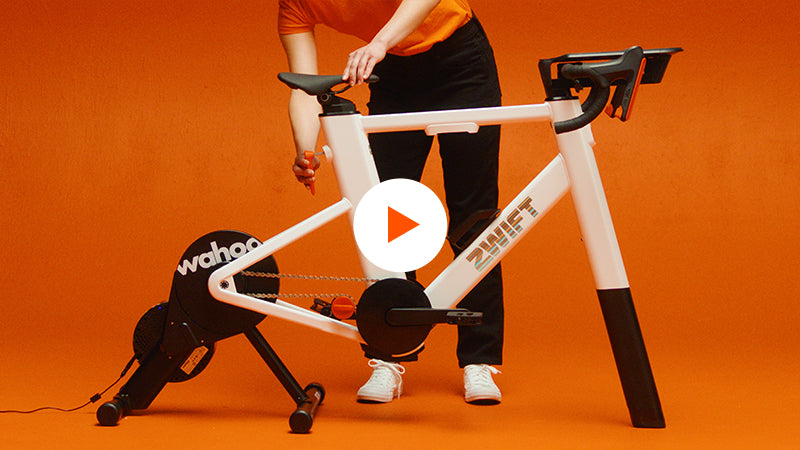
Vídeo 3 de 6
INSTALACIÓN DE LA PIEZA ELEVADORA PARA EL CUADRO INTELIGENTE DE ZWIFT RIDE
Con el cuadro inteligente de Zwift Ride montado, es hora de encontrar la pieza elevadora del tamaño adecuado.

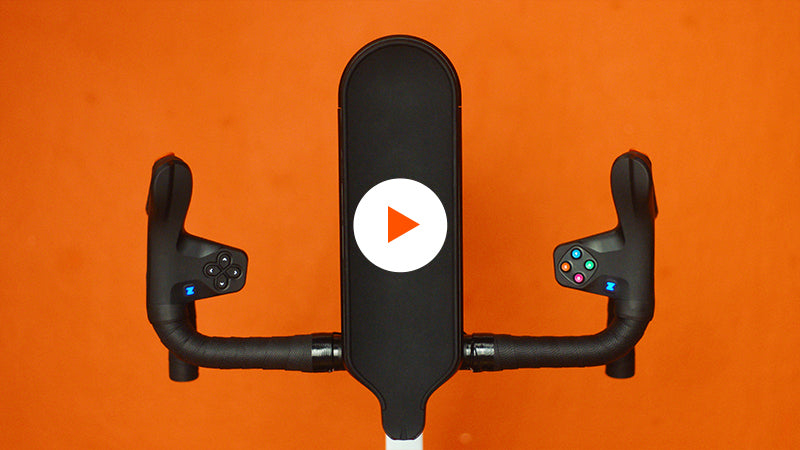
VÍDEO 4 DE 6
AJUSTE DE LA BICICLETA
¿Cuadro y rodillo inteligentes montados? Ahora vamos a ajustar la bicicleta.

VÍDEO 5 DE 6
CONEXIÓN Y ACTUALIZACIÓN
Una vez realizado el ajuste, toca emparejar y actualizar los dispositivos.

VÍDEO 6 DE 6
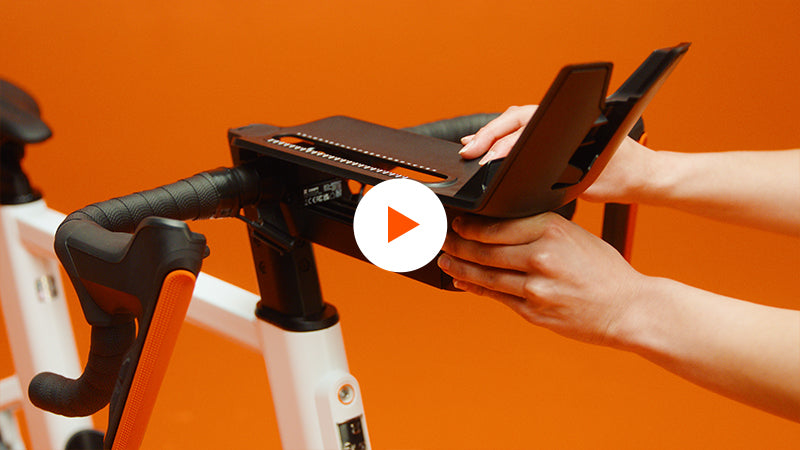
MONTAJE DEL SOPORTE PARA TABLETA
Con todos los dispositivos emparejados y actualizados, pasemos a instalar el soporte para tableta de la Zwift Ride.


